I can’t help it, I just have a thing for rayguns. I got frustrated by not owning one a while ago, and I figured the fastest solution was to make one myself.
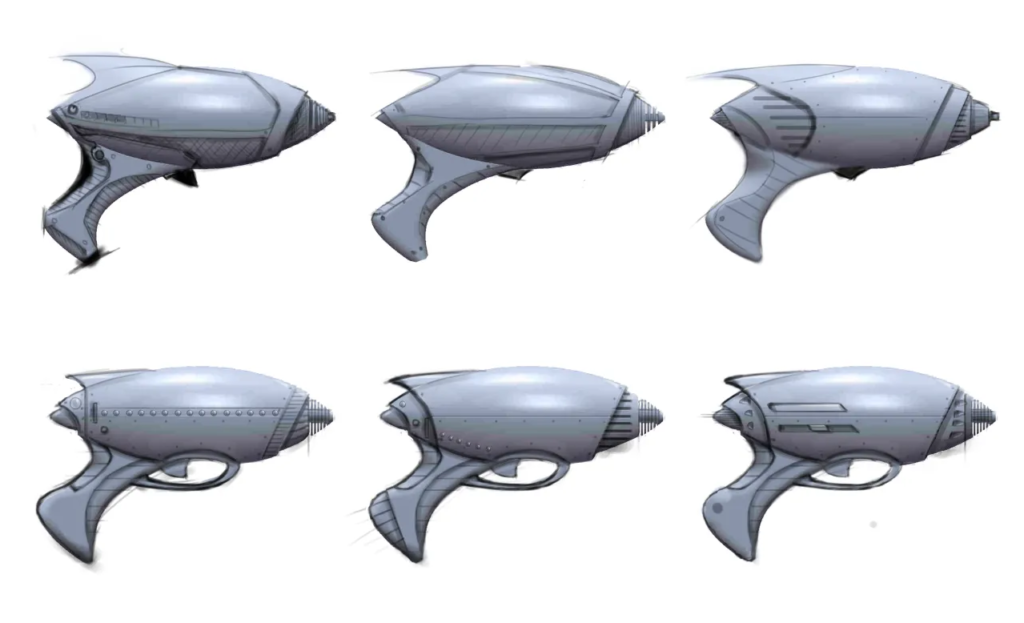
I went for a once-slick-retro-future sort of look. My initial idea was to build a gun with lights and buttons and sounds and so on. The design, therefore, was done envisioning how LEDs and switches would fit in it. Rather than make design mistakes on a full-featured item, I chose to build a non-functioning model and make mistakes at it instead.
I sketched dozens of rayguns, wore out some pens, and mocked up a few in clay to get the scale right. Next I CAD’d it in the number prophet. Like practically every design, I had to start over a few times as I figured out how to construct what I wanted. This design had some tough parts for a solid modeling program, especially where the handle transitions into the trigger guard and back into itself. Apparently my Sketching Self had it out for my CADing Self.
In the end, there were odd artifacts in the model that were easier to fix with body filler than in CAD, so both designing Selves teamed up against my Not Wanting a Fume Headache Self. (Note: the author highly suggests one always wear a badass respirator when working with nasty compounds.)
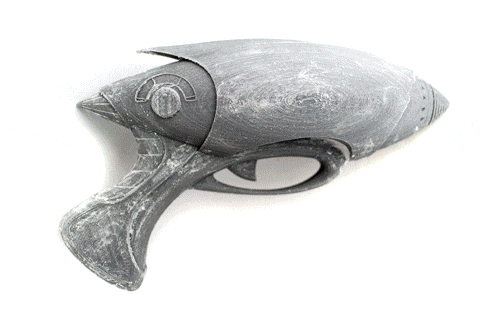
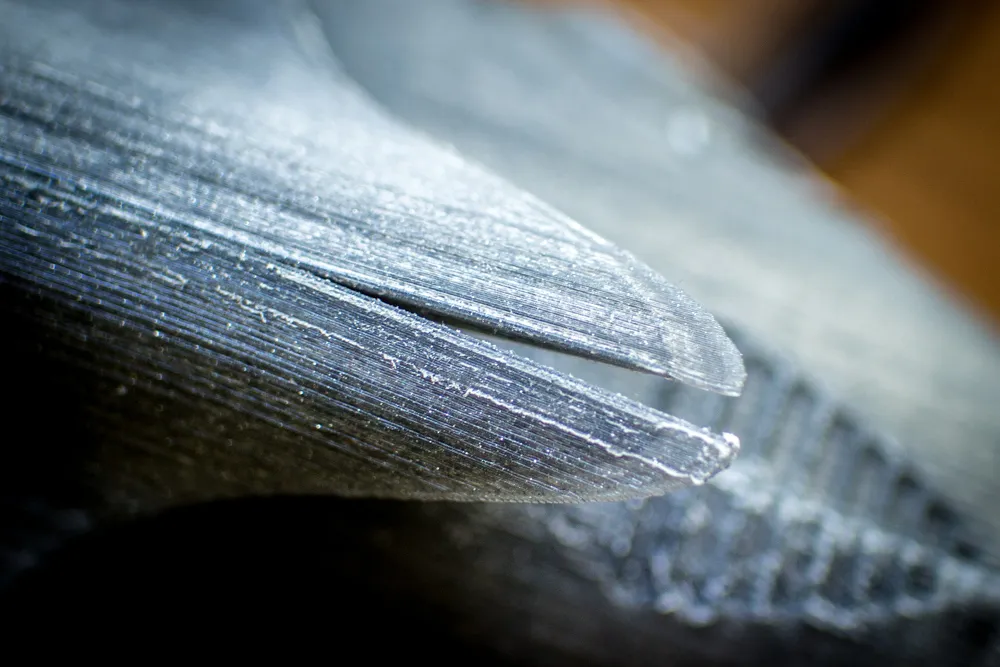
I printed the gun in two halves on the smooth glass plate of an Ultimaker 2. Then I glued them together with acrylic cement, which may have worked perfectly for all my memory is worth. If not, then maybe I used superglue? Either way, the PLA printed beautifully without any warp. Under a sunny window, however, the daystar wreaked its uncaring wrath, and there was significant warp. The thin point of the fin split apart and had to be filled in.
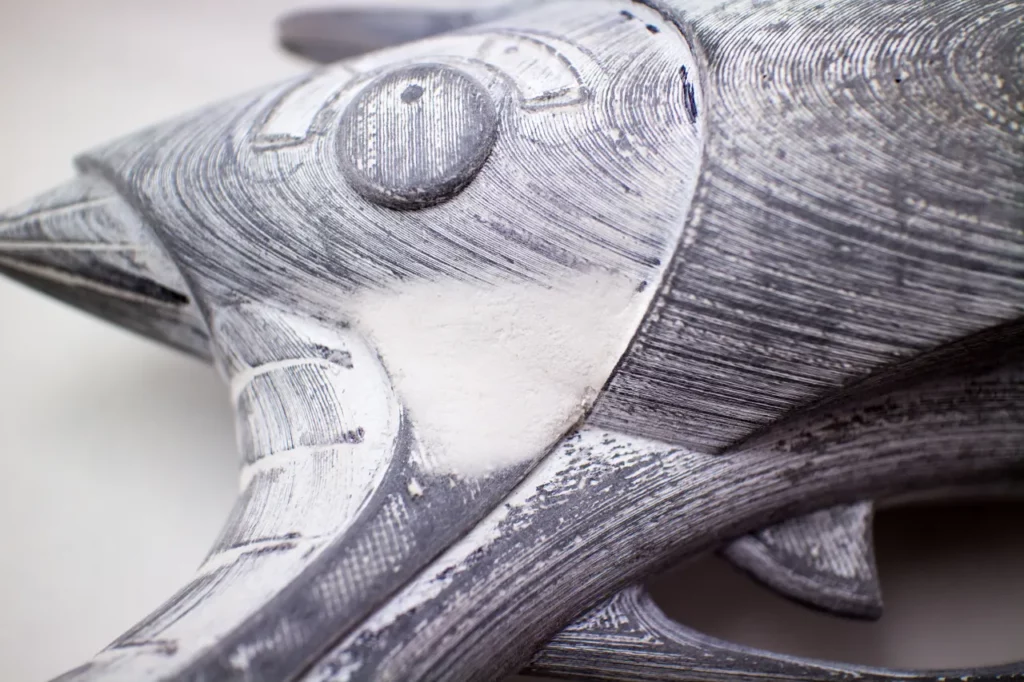
After gluing together the two halves, I sanded, Bondo’d, spackled, sanded, primered, sanded, spackled, primered, sanded, primered, spackled, sanded, wept, sanded, etc. until beautiful.
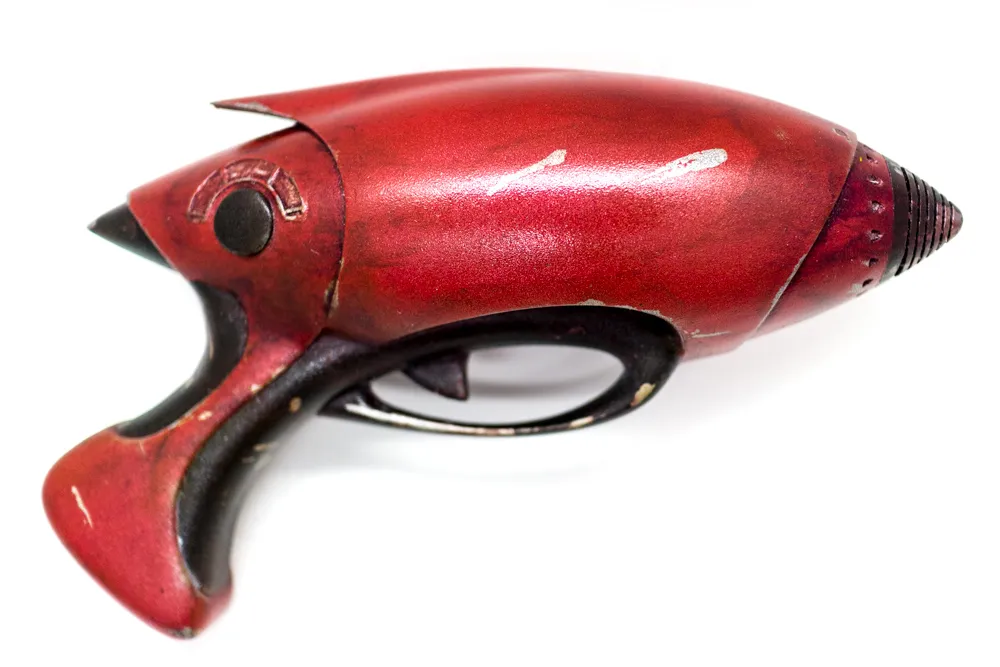
This was my first attempt at realish prop painting and weathering. (I did do a little model painting in college, but it was far less interesting). Getting a shiny, even coat of paint was probably the hardest part of the whole process. One thing I learned (and there were a few) is that dry brushing is awesome. For all the aggravating and tedious parts of the process, dry brushing has an instant satisfaction that was a godsend.
Since I made it for myself, I worked on it exactly as long as it took to feel done. And I’m pretty proud of the final piece. But I already have a list of methods to try next time, and of ways to make it cooler.